Booting the WIPERAPP system in network mode
Step 1: Turn on the machine and access the WIPERAPP boot menu.
Step 2: Select one of the first two available options: “WIPERAPP” or “WIPERAPP (UNFREEZE OFF)”. Do not select the options labeled as OFFLINE, as they have network communication completely disabled.

Establishing a connection to the wireless network
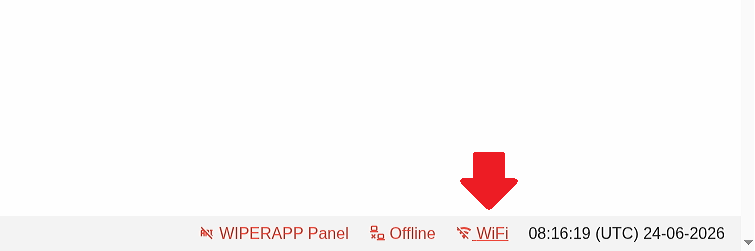
Step 1: Once the Graphical User Interface (GUI) fully loads, locate the Wi-Fi icon in the bottom right corner of the screen and click it.
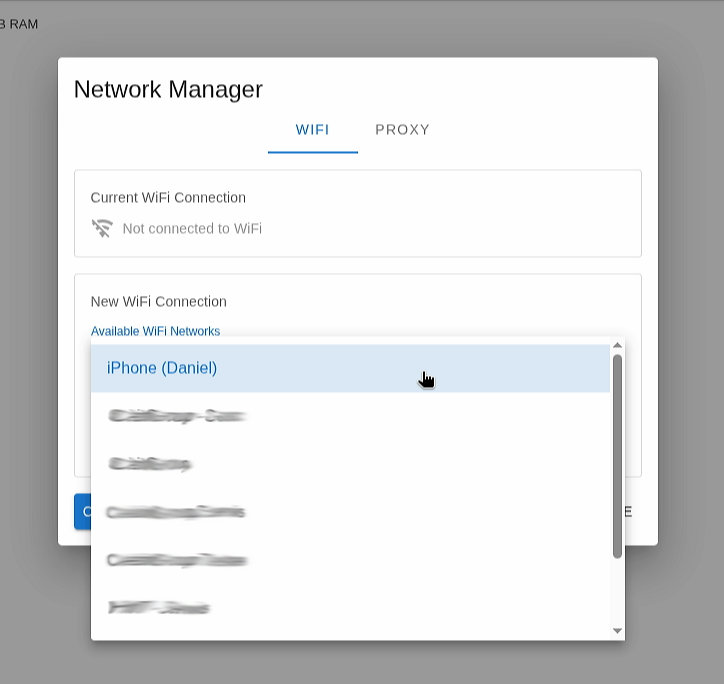
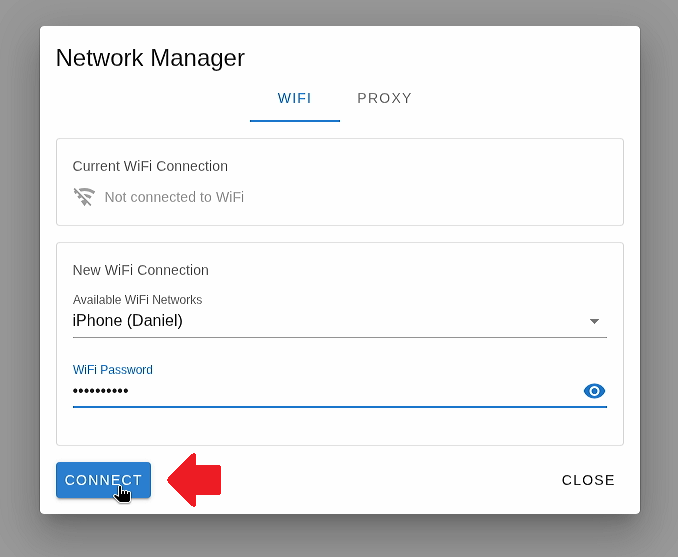
Step 2: In the displayed window, expand the list of available networks and find the one you wish to connect to.
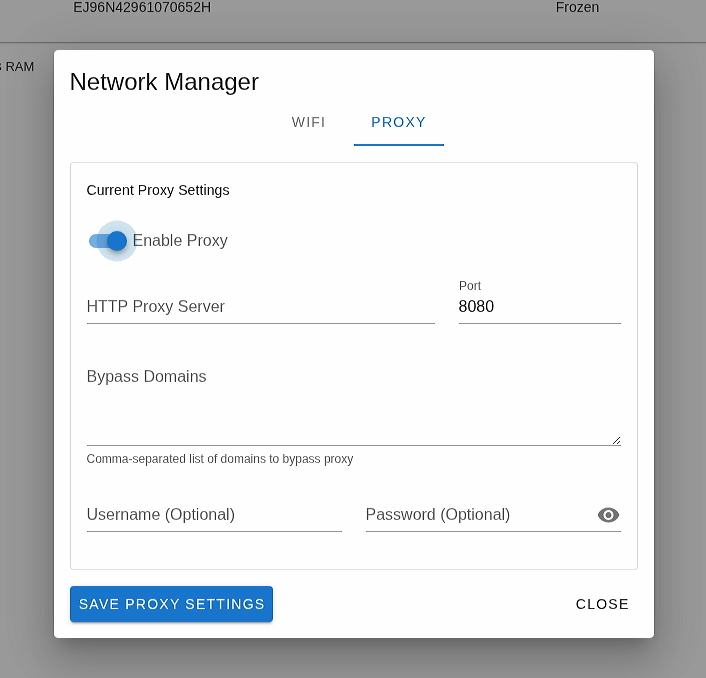
Step 3: (Optional) If your network environment requires additional configuration, switch to the “PROXY” tab and adjust the settings according to your needs.
Step 4: Select your network, enter the password, and click the “CONNECT” button.
Verifying the connection and license status
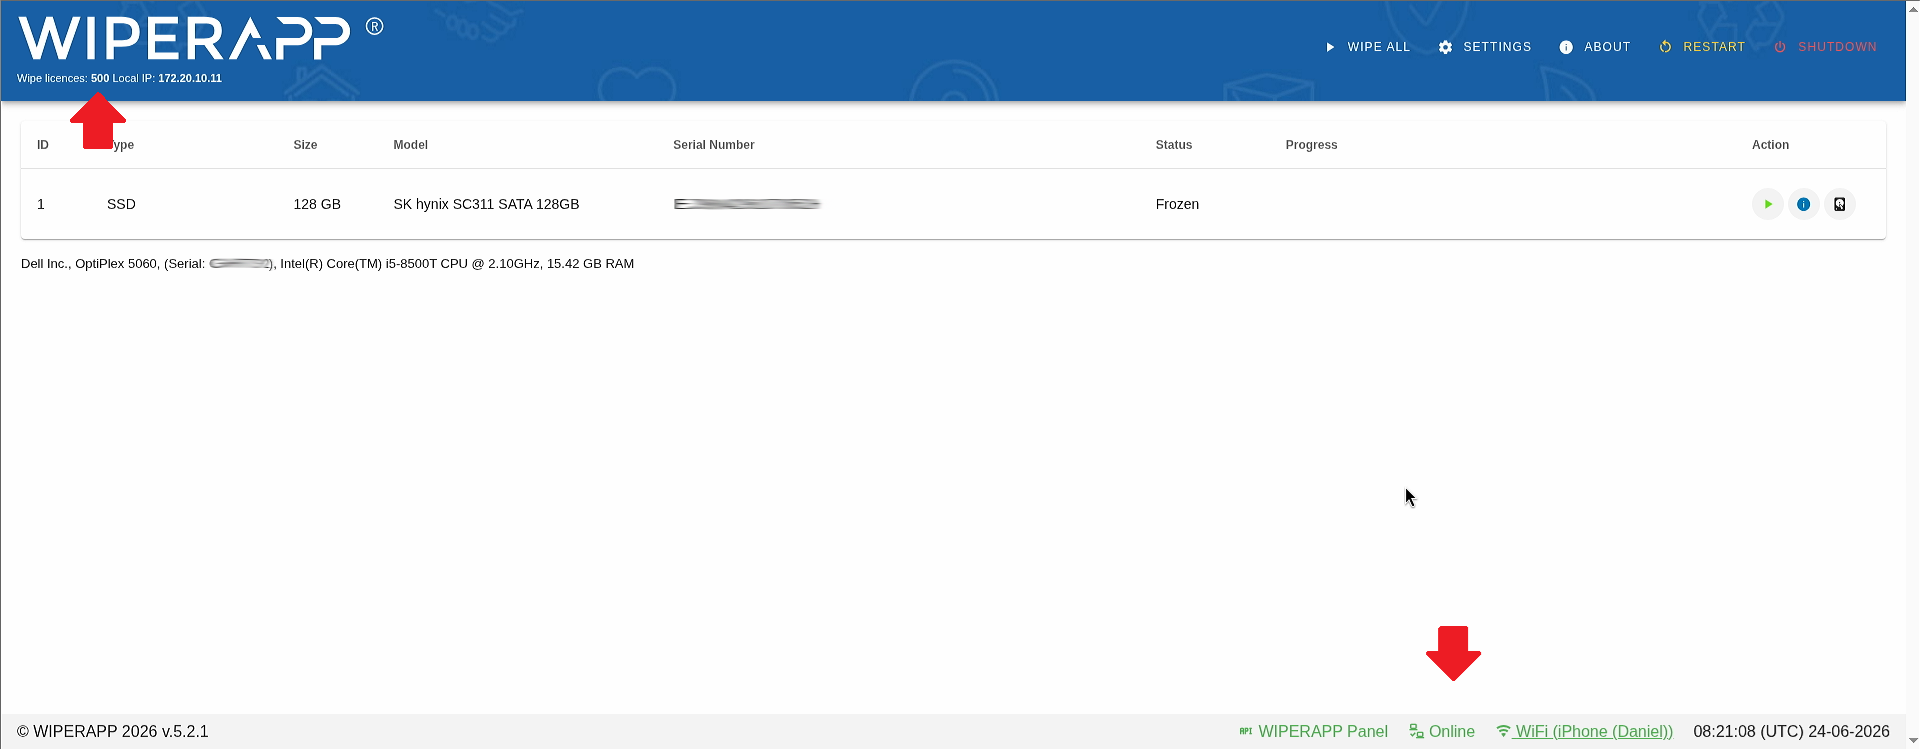
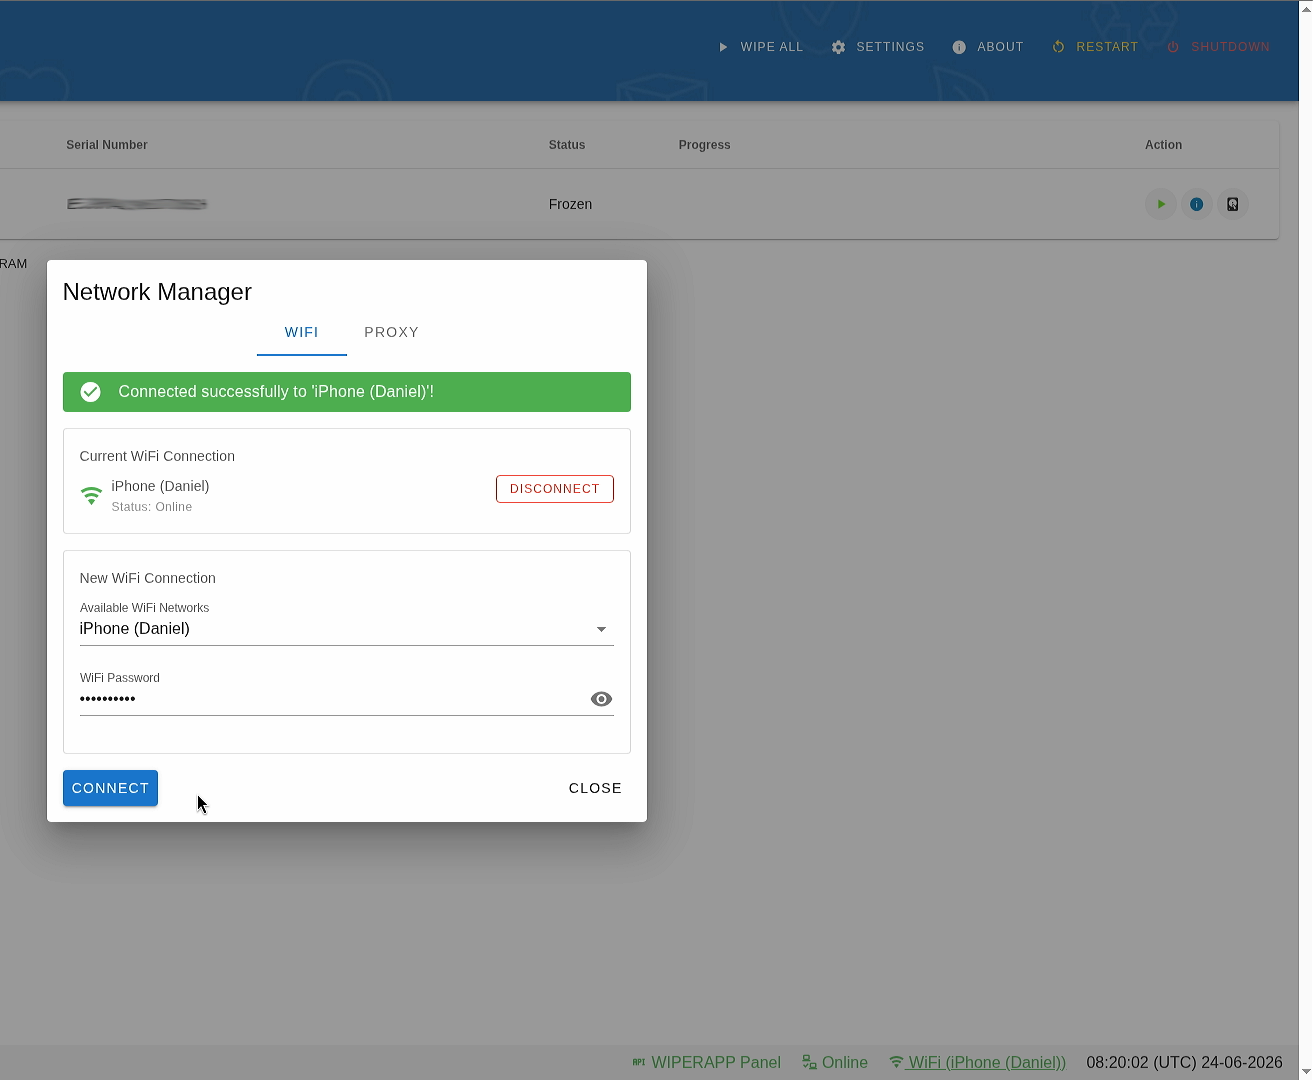
Step 1: Upon a successful connection, a confirmation message will appear: Connected successfully to ‘network_name’!, and the Wi-Fi icon in the bottom right corner will turn green, displaying the network name.
Step 2: If the token file is missing, a notification will appear – in this case, please refer to the guide: https://wiperapp.com/docs/wiki/tokens/adding-token-to-pendrive/
Step 3: If the token is already present on the drive, all status icons will turn green, signaling a successful connection to the panel. The number of your active WIPERAPP licenses will be displayed in the top-left corner of the screen. You can now safely proceed with the data erasure process!